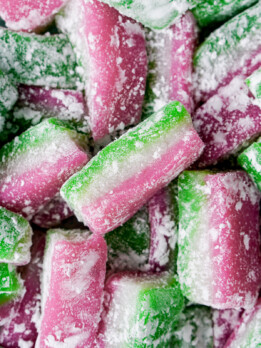
Three Layer Mochi (Girls’ Day Chi Chi Dango)
Tricolor chi chi dango in spring colors is a popular Hawaii style mochi with coconut milk, similar to Japanese hishimochi. It can be eaten year round, but it’s especially popular on Girls’ Day, or Hinamatsuri. *Disclaimer: This post contains affiliate links.
What is Chi Chi Dango? What is Hishi Mochi?
Chi chi dango, also called chi chi mochi, is a rice cake confection that originated in Hiroshima. Hiroshima versions of chi chi dango use cow’s milk, as this dessert was created after the introduction of dairy farming to the region. When immigrants from Hiroshima moved to Hawaii, they adapted chi chi dango to local ingredients, using coconut milk instead. This style of chi chi dango is still very popular in Hawaii to this day. Dyed different colors, it is especially popular on Girl’s Day.
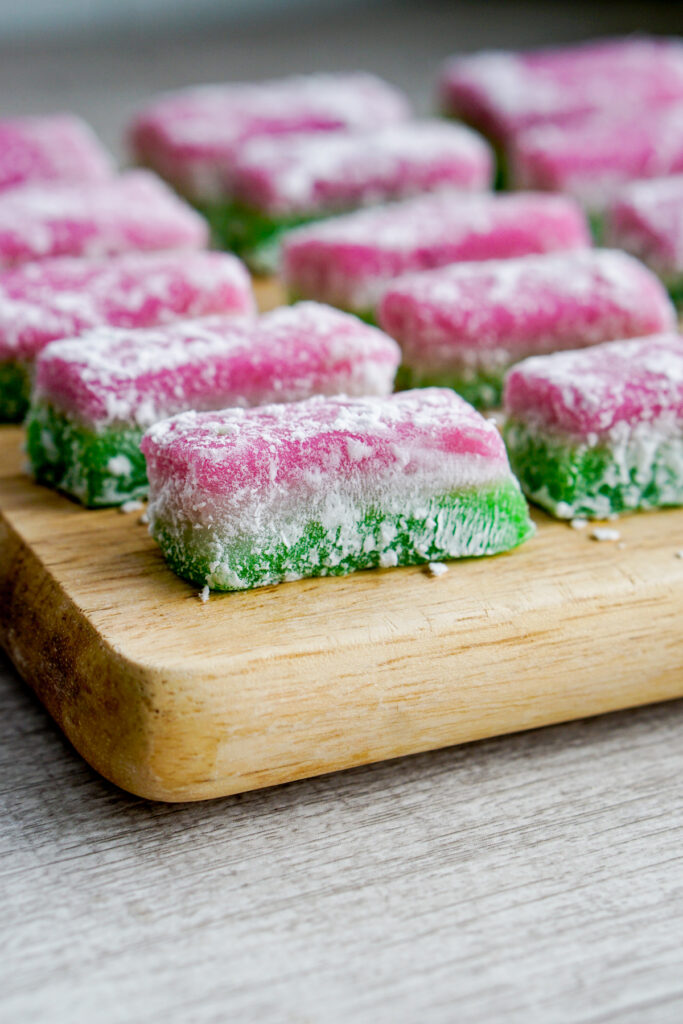
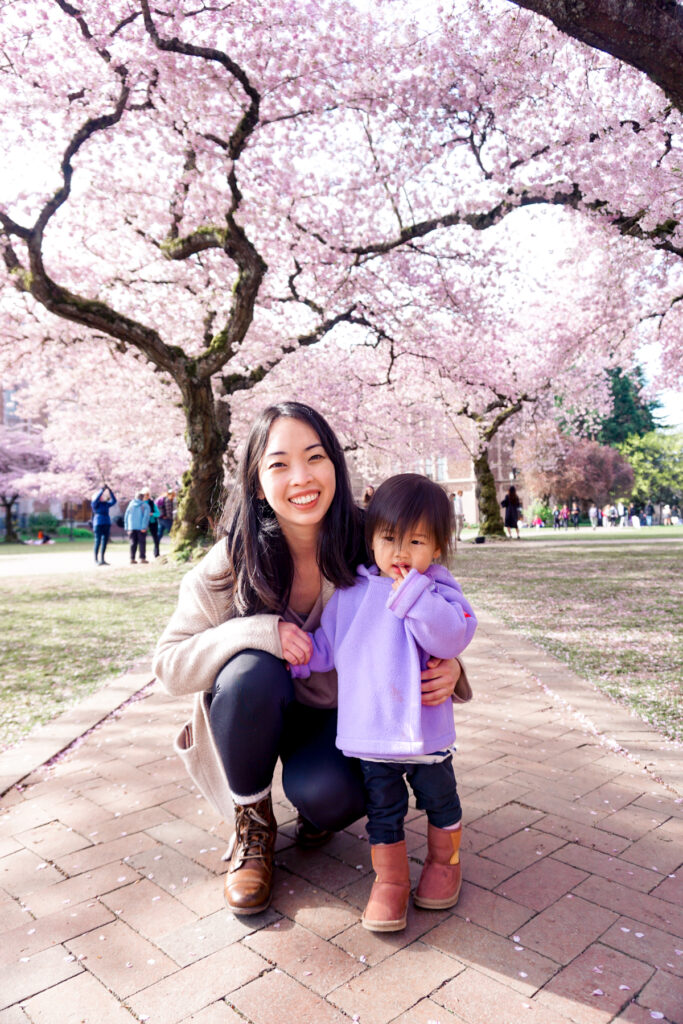
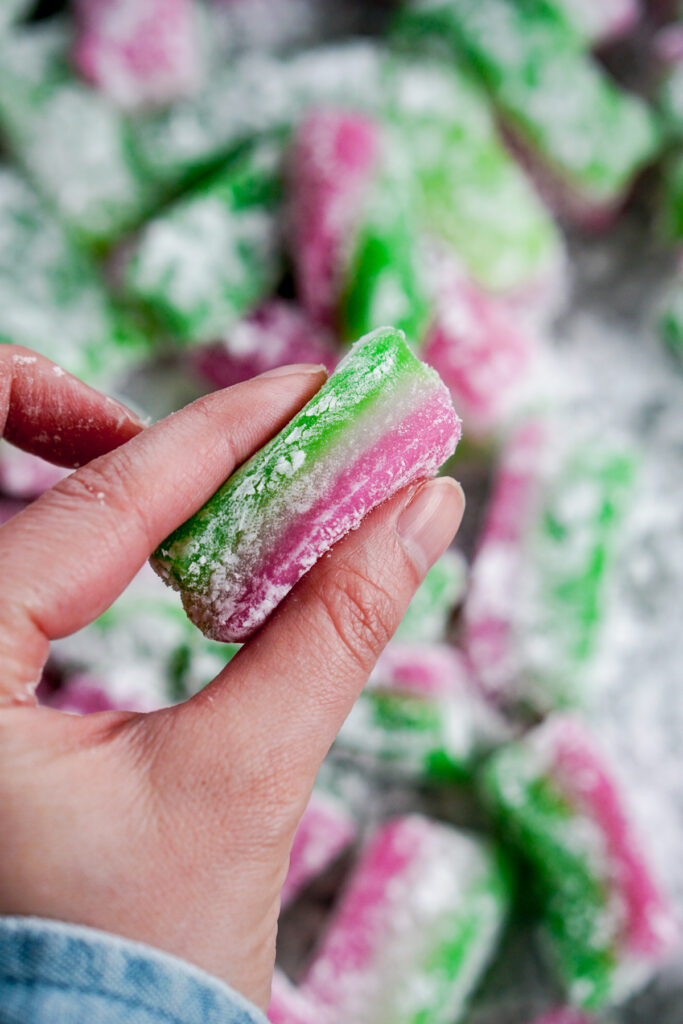
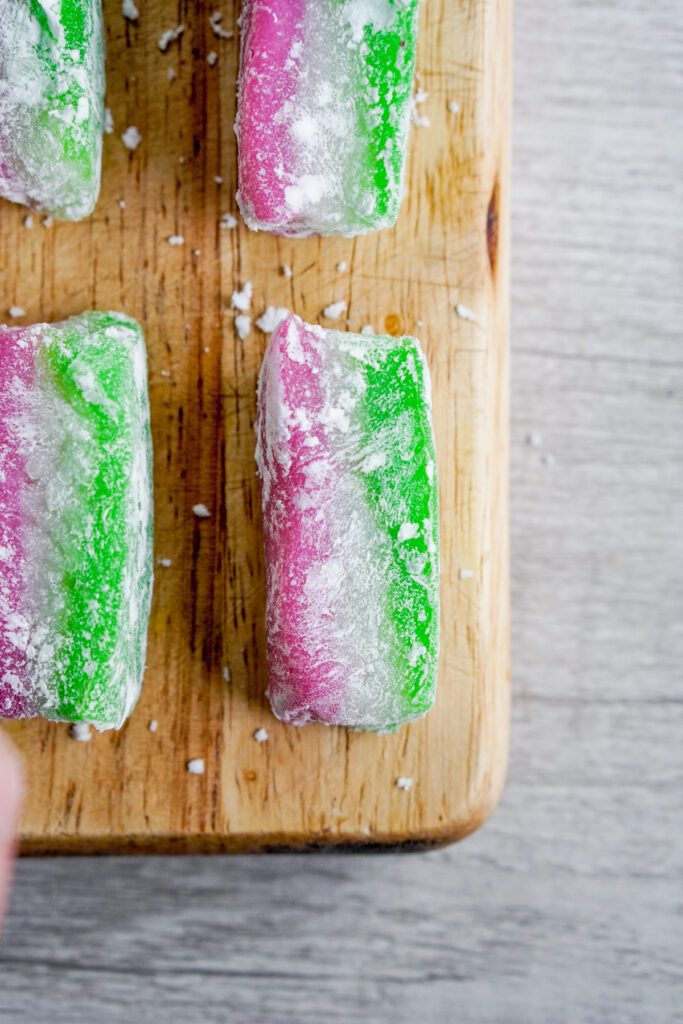
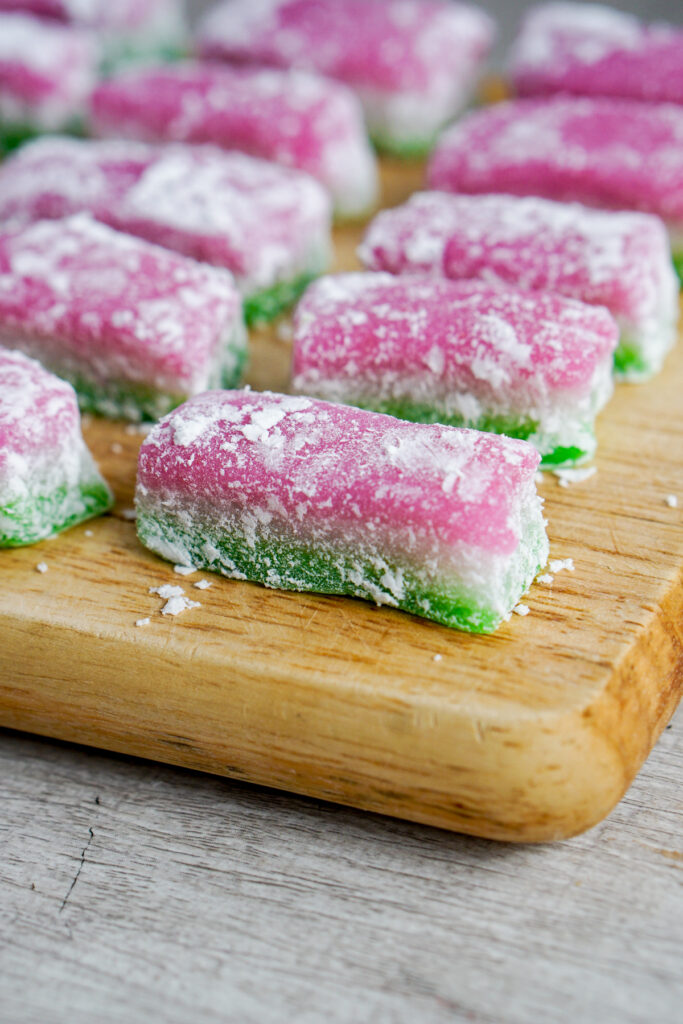
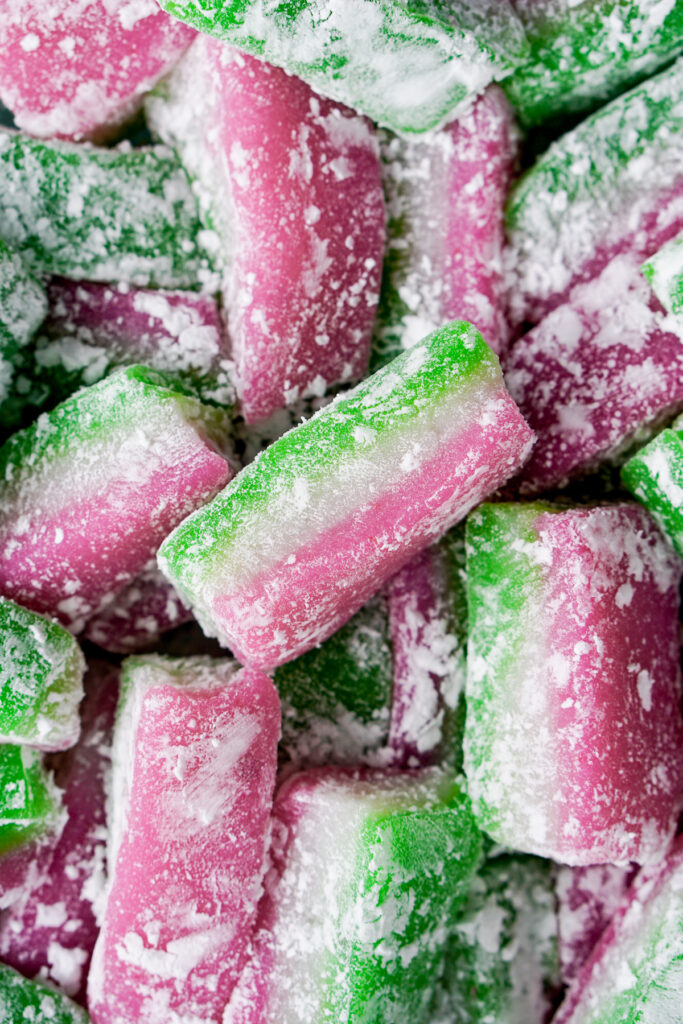
Hishimochi is a Japanese mochi dessert. It is a sweet glutinous rice cake cut into rectangle or diamond shapes and has three distinct layers: pink, white, and green. People commonly eat hishimochi during Japan’s Girl’s Day festival, Hinamatsuri. However, given hishimochi’s pretty spring colors, I like to make it for any spring event. Recently, I made some to go view cherry blossoms around Seattle.
Mochi vs. Chi Chi Dango
Most traditional mochi recipes from Japan use only glutinous rice flour (like mochiko), sugar, and water. However, without any fat added to it, mochi will dry out and become tough fairly quickly. That’s why most mochi desserts should be eaten the day they are made.
Hawaii style chi chi dango, however, uses coconut milk in addition to the usual water, sugar, and mochiko. The fat from the coconut milk adds flavor, but also allows the mochi to stay soft and chewy for days! That’s why I decided to use a chi chi dango recipe as the basis for this hishi mochi.
In fact, tricolor, three layer chi chi mochi is very popular in Hawaii for Hinamatsuri as well! I’m guessing three layer chi chi dango also comes from the Japanese hishi mochi tradition.
In any case, both versions of hishi mochi are naturally vegan and gluten free! And the ingredients can be pretty easily found in grocery stores. I’ve even seen mochiko at Safeway lately, but in case you don’t have any near you, you can always find it on Amazon.
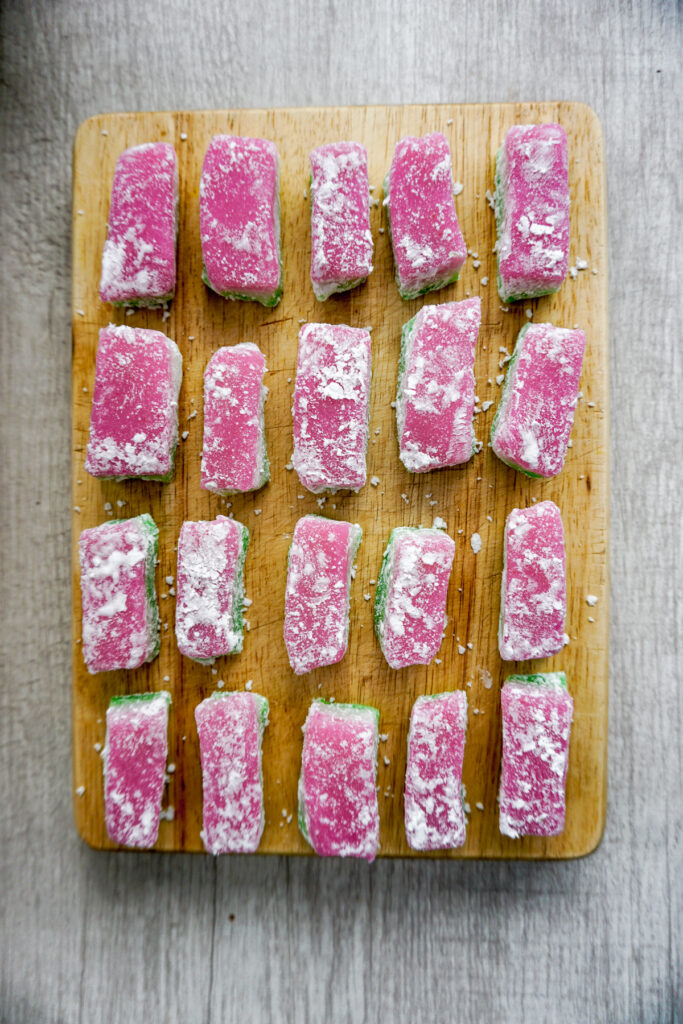
Tricolor, Three Layer Mochi
You can use any colors you’d like for your three layer mochi. However, pink, white, and green, in that order, are the typical colors used for Hinamatsuri and cherry blossom season. Why? The colors symbolize…. something. I think it’s good health, purity, and good luck? Something like that? I’m obviously VERY big on symbolic colors.
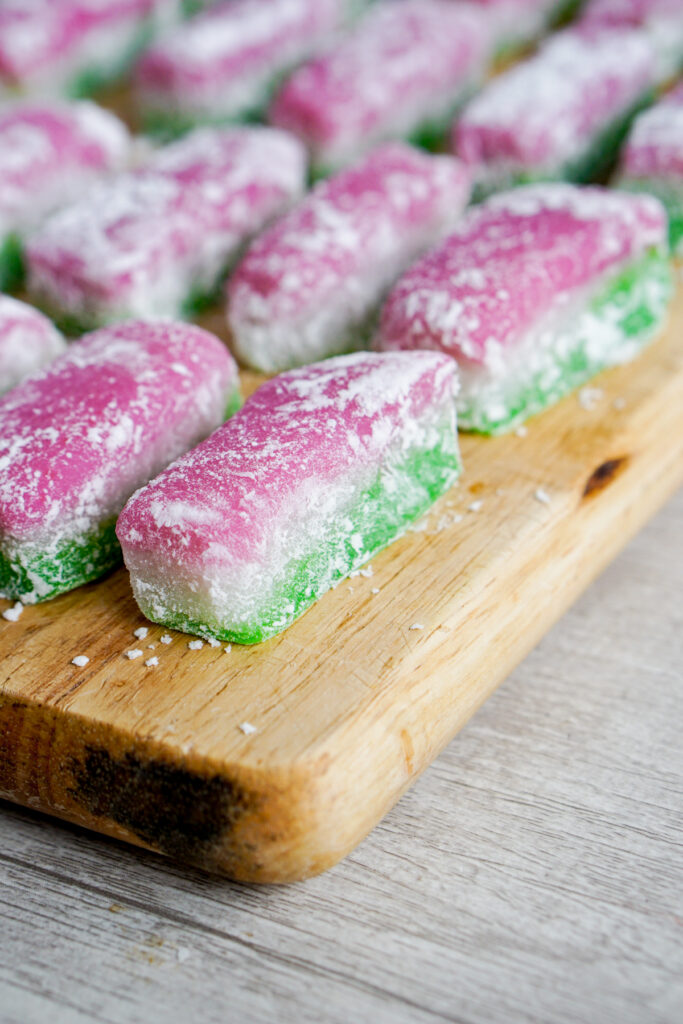
Pink, white, and green are also traditional colors associated with cherry blossom season! The colors go in that order to mimic the life cycle of a cherry blossom: first they’re pink, then at full bloom they look white, then the green leaves appear.
Baked Mochi vs. Microwave Mochi
This mochi recipe makes enough to fill a 9×13″ dish and is baked in the oven. However, you can definitely make this in the microwave… IF you have a microwave big enough to fit your dish! I feel like my microwave is pretty massive, and I still can’t fit a 9×13″ pan in there. Maybe if you halve the recipe? If you do attempt to make this three layer mochi in the microwave, you’ll want to microwave each layer, covered, for 2 minutes or until set before pouring on the next layer. Total microwave time for a halved recipe should be around 8-9 minutes at high power. Microwaves vary, so as they say on Reddit, YMMV.

In any case, if you make my recipe as written in a 9×13″ pan in the oven, the process is just as simple. Layer the green mochi batter first, then bake until set. Repeat with the white layer. Then for the pink layer, cover the whole pan in aluminum foil and bake for 30 minutes. The edges may be a little dried out, so you can just cut those off and discard, but the inside will be perfectly moist and chewy.
By the way, I heard that baking your mochi in a water bath will prevent the dried out edges. But again, I do not really have a pan big enough to do a water bath for my 9×13″ pyrex, so I continue to sacrifice my mochi edges.
How to Keep Mochi from Sticking
Here are some tips to keep your mochi from sticking to things in your kitchen:
- Use a Pyrex baking dish and grease liberally with baking spray (you can also line your pan with parchment paper for extra assurance).
- Don’t overbake your mochi. Dried out mochi sticks more.
- Use a plastic knife or pizza cutter to cut your mochi
- Dust liberally with katakuriko
Katakuriko is the Japanese name for potato starch. I know some people substitute katakuriko with corn starch to dust their mochi. However, I feel like corn starch tastes funny to me. Katakuriko is commonly used in Japanese cooking, and I highly recommend it for mochi. If you don’t have a Japanese market near you, you can always find it on Amazon.
Oh, and yes, the pizza cutter really does work for cutting mochi!
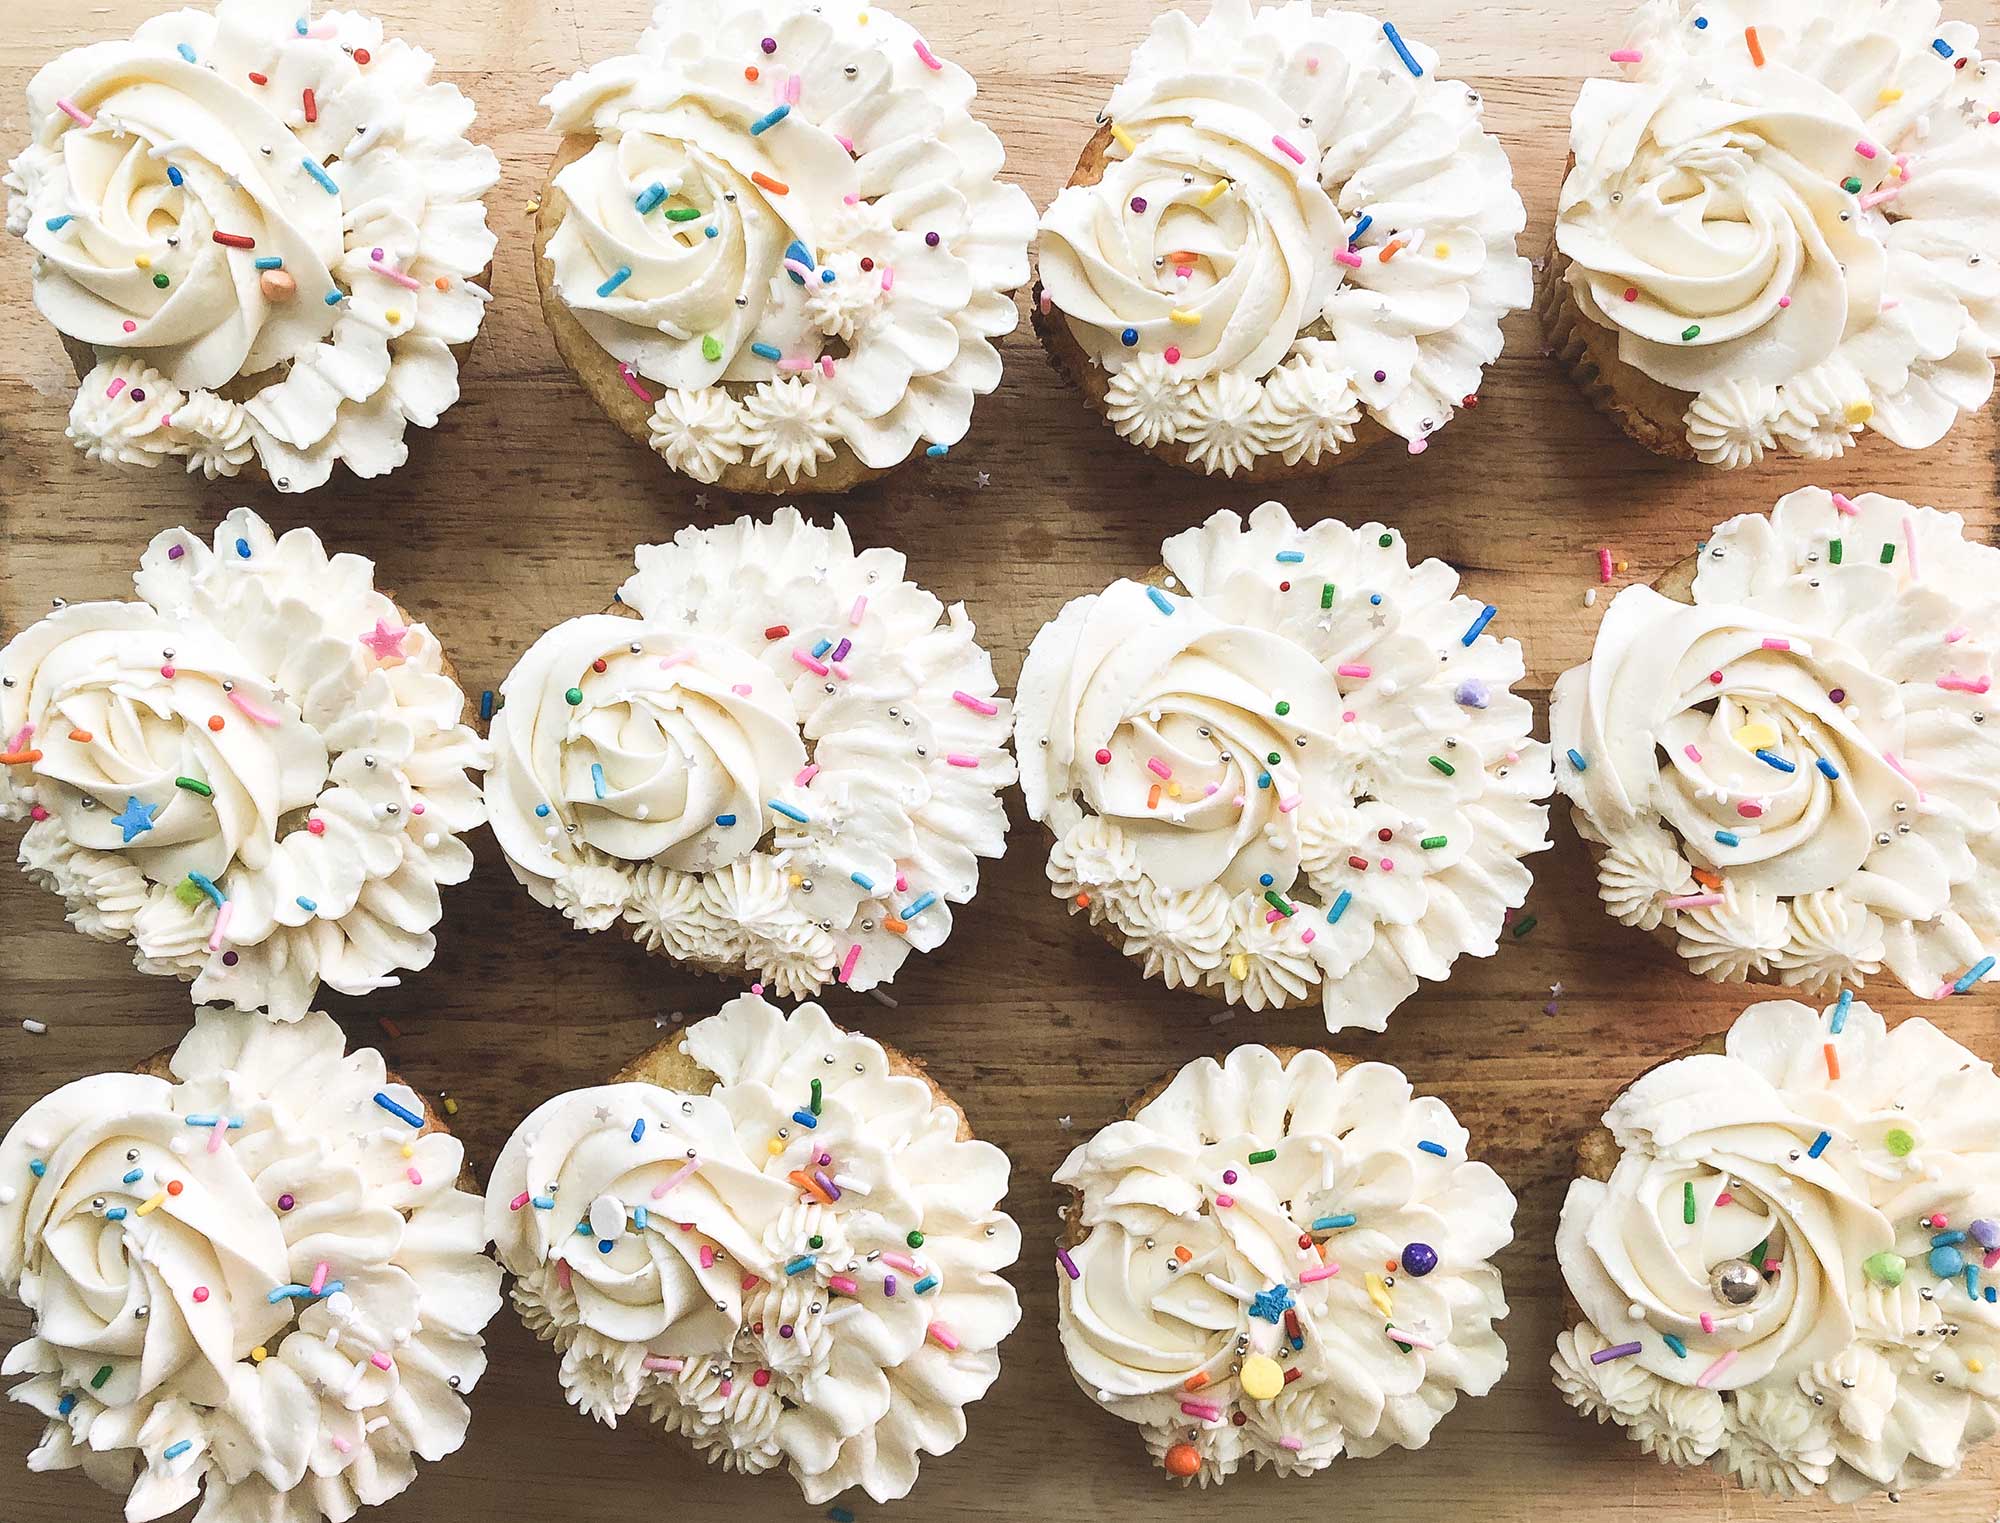
More Mochi Recipes
I really hope you like this recipe! If you do, you’d probably like some of my other fun and colorful mochi desserts:
- Coconut Rose Chi Chi Dango (Two Layer Mochi)
- Coconut Mango Mochi
- Ichigo Daifuku
- Strawberry Rose Marzipan Daifuku
- Rainbow Mochi
Three Layer Mochi (Girls’ Day Chi Chi Dango)
Ingredients
- 1 16 oz box mochiko
- 2 cups sugar
- 1 can coconut milk
- 2 cups water, see notes
- 1 tsp coconut extract, optional
- Pink and green food coloring
- Katakuriko for dusting
Instructions
- Preheat oven to 350 degrees F.
- Mix together mochiko, sugar, coconut milk, water, and extract (if using) in a large bowl, making sure no dry lumps of mochiko remain.
- Separate mochi batter into thirds.
- Add 1-2 drops green food coloring to one third and 1-2 drops pink or red food coloring to another third. Leave remaining third white.
- Pour the green mochi batter into a greased 9×13” pan lined with parchment paper (I recommend Pyrex).
- Bake uncovered for 10-15 minutes, or until the top of the layer is just set.
- Carefully pour white mochi batter on top of baked green layer.
- Return to oven and bake again for another 10-15 minutes or until set.
- Carefully pour pink mochi batter on top of the white.
- Cover entire dish tightly with foil and bake for 20-30 minutes or until mochi is cooked through.
- Uncover mochi and let cool down to room temperature.
- Turn out the mochi onto a surface dusted with katakuriko and slice into rectangles (use a plastic knife or pizza cutter to prevent mochi from sticking to the knife). Continue dusting with katakuriko as needed to prevent sticking.
- Leftover chi chi dango can be saved in an airtight container at room temperature for a few days.
Pingback: Ube Pandan Mochi (Chi Chi Dango) - Mochi Mommy
Pingback: Super Easy Chocolate Haupia Pie Recipe - Mochi Mommy
What a waste of ingredients! Your recipe sucks !!
Pingback: Easy Mochi Recipe (Chi Chi Dango) - Beginner Friendly! - Mochi Mommy
Pingback: Coconut Mango Mochi (Chi Chi Dango) - Mochi Mommy