DIY Photo Thank You Cards
This is one of the easiest DIYs I’ve ever done, but before we get started I need to give a disclaimer: This is technically a semi-DIY card since the cards themselves were bought. I also apologize for the poor photo quality: When I made these cards, I wasn’t even thinking of writing a blog post, so these photos are from my Instagram stories.
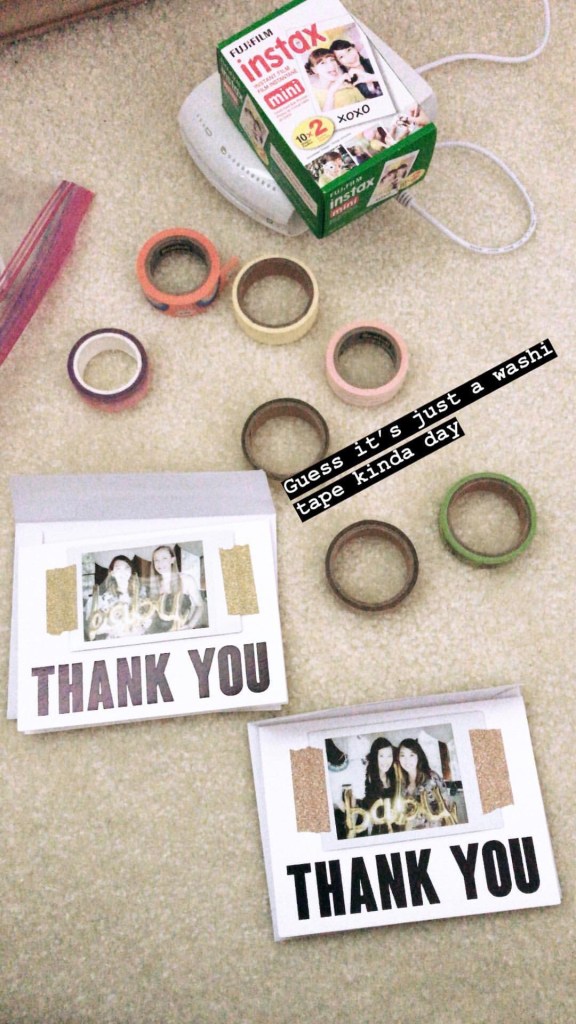
The cards with the “thank you” text were bought off Amazon by my sister-in-law for my baby shower. I noticed that they just happened to fit an Instax photo perfectly! All I had to do was print out a photo from my phone using my trusty Fujifilm printer, tape it onto the card with washi tape, write a note inside, and BOOM! Done! Get ready for the easiest DIY instructions ever:
Materials:
- Thank You Cards (bought from Amazon or homemade)
- Instax Fujifilm printer* or camera
- Instax Fujifilm film
- Washi tape (You can find this at Daiso or any craft store)
*I bought my printer YEARS ago and it is the SHARE SP-1 version, which I guess is no longer available. I’ve linked the SHARE SP-2 that I found on Amazon. Also, as you may be able to tell by now, this is not even a sponsored post; I just love my printer that much.
Instructions:
- Print out a photo to use for the card using your printer instructions or your camera. A landscape photo works best.
- Tape photo to card with washi tape.
- Write your note inside, seal in envelope, and done!

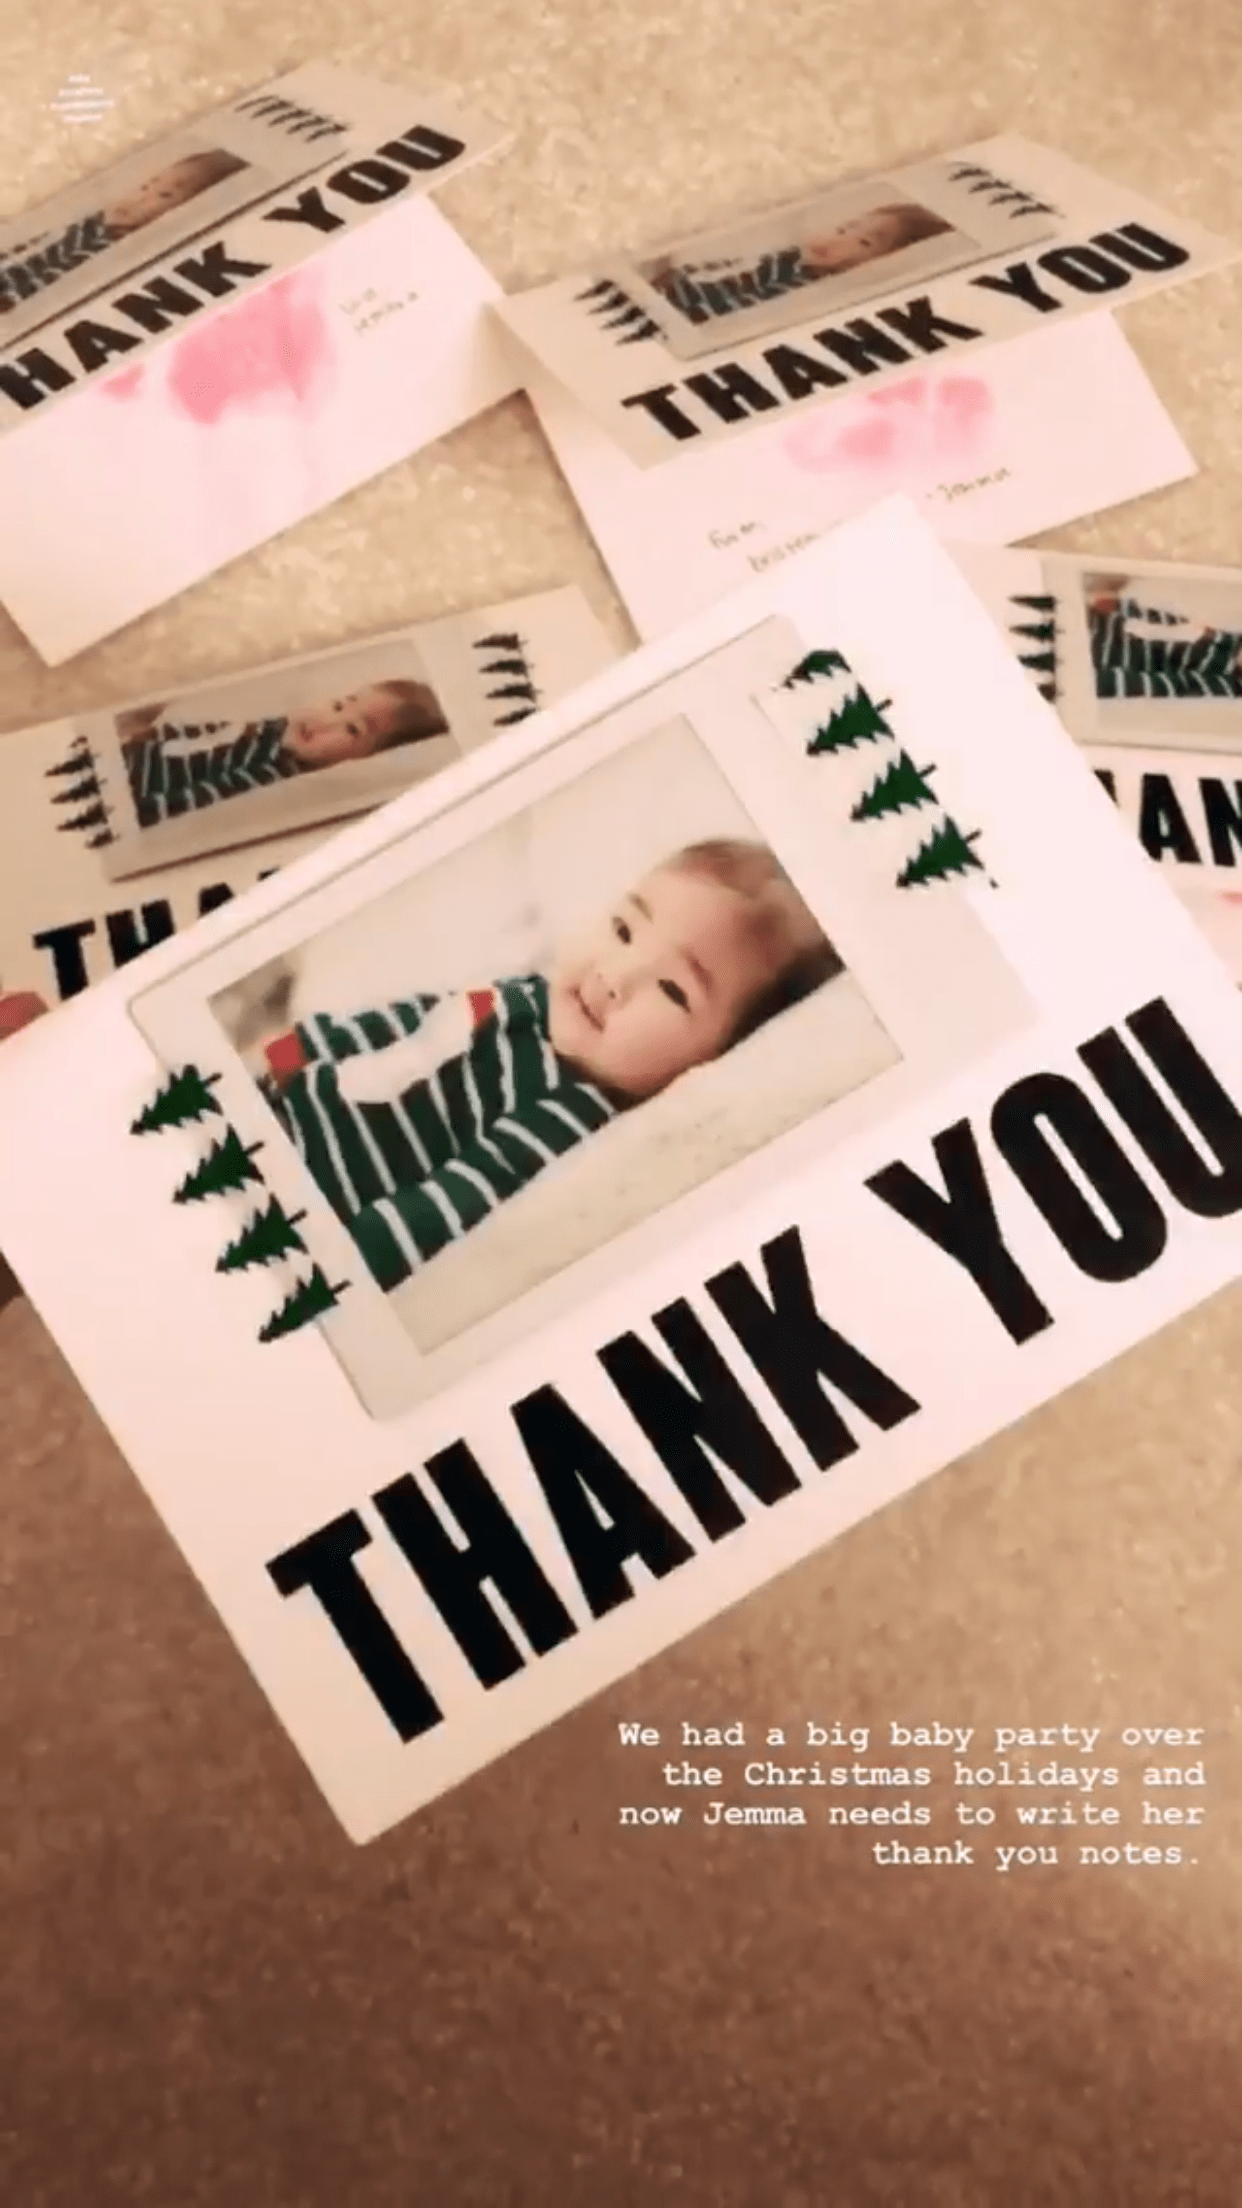
How easy is that? And don’t they look so nice too? And because the cards are plain, by switching up the photo you can customize it for pretty much any event! I love using my Instax printer because I can use any photo on my phone and make sure they are edited to look nice before I print. Plus, when you use washi tape, the photo can be peeled off the card without any damage, so your recipient gets a thank you card AND a little memento all in one.
Happy crafting!